Step 1: Anticipation
|
See the full description here
Summary:
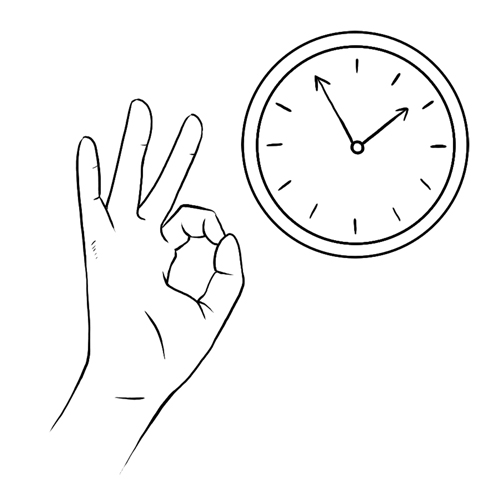
Collaborate and form a team with your child. When you invest the time to form a strong team, children feel more comfortable and less anxious – this will help you complete the care with less stress – for you and your child.
Use these tips, from the start, to set the stage for a positive care procedure:
- Create the right moment: integrate the care in a routine.
- Alert your child to the needed care and communicate together.
- Form a team with your child: Encourage autonomy by offering realistic choices such as the method of distraction. Stay tuned to your child. Manage pain and anxiety, using distraction and positioning for comfort.
|
|
Step 2: Preparation
|
See the full description here
Summary:
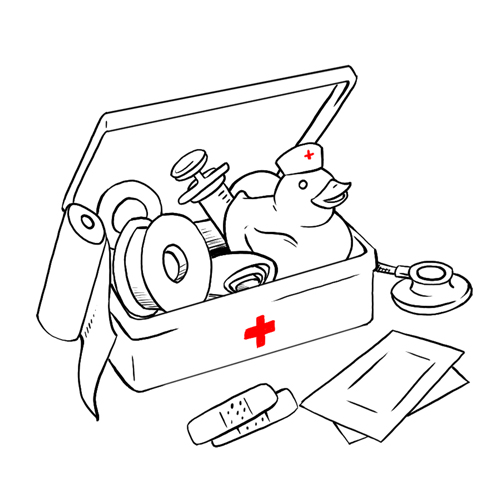
- Prepare the environment: Identify a routine place for care. Close windows, doors and fans. Wash and dry the work surface and gather the needed materials for the care and to distract your child.
- Prepare your child: Get help if needed. Position your child for comfort to receive the care and start to use the selected distraction method.
- Prepare yourself: Find the right time when you are ready to provide the care safely. Review the list of care steps. Wash your hands.
Now that you are ready to start the care procedure, take the opportunity to encourage and praise your child.
|
|
Step 3: Procedure

|
See the full description here
Summary 3 key concepts:
- Safety: Carefully follow the care practice steps as you have been taught.
- Flexibility: Be ready to adjust according to your child’s reactions during the procedure. As needed, reposition or select an alternative distraction strategy. Follow your child’s pace and rhythm.
- Collaboration: Reassure your child, verbally and non-verbally. Acknowledge your child’s emotions and reactions. Help your child differentiate between the different sensations during a procedure.
|
|
Step 4: Prepare the materials

|
- If you need to measure the amount of urine, make sure the container to collect the urine is on a flat surface near your child at a level below the bladder. Tip: If your child is lying down for the care, the container may be placed next to the child.
- Open the new catheter wrapping or take the reusable catheter from its container without touching the end.
- Put a small amount of water-based lubricant on the tip of the catheter. DO NOT use any type of Vaseline petroleum jelly.
Why ? This step is done to prepare for the procedure.
The lubricant permits smooth entry of the catheter.
|
|
Step 5: Position your child

|
- Place your child in one of the positions discussed with your healthcare team, according to comfort, age and ability to cooperate.
- The changing table can be used for a baby.
- As soon as he is able, sit your child on the toilet seat.
- If your child is older, he can stand up in front or on the side of the toilet.
Why ? This step optimizes comfort and efficiency.
|
|
Step 6: Clean the stoma and the skin around the stoma
|
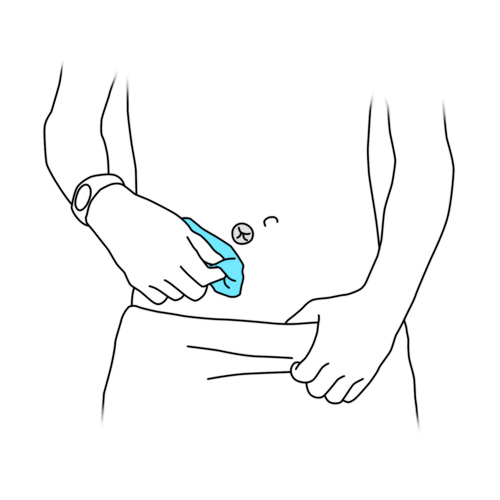
- Loosen clothing around the stoma.
- Gently wash the stoma and the skin around the stoma with warm water and a soap without perfume or additives.
- You can also use a baby wipe.
Why ? This step is necessary to prevent infections.
|
|
Step 7: Insert the catheter
|
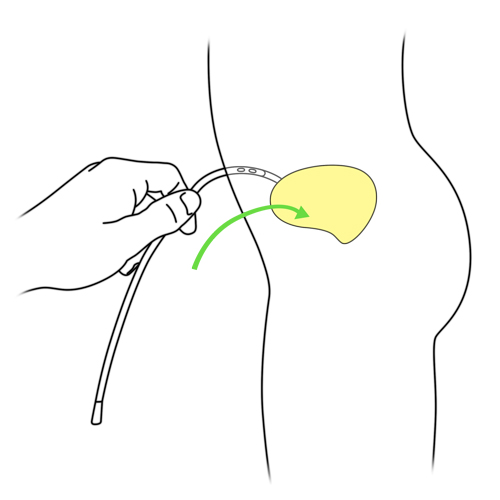
- Hold the catheter like a pencil: about 3-4 cm from the end that will be inserted.
- Direct the other end of the catheter to the toilet, the towel or the container to collect urine if the amount of urine is to be measured.
- Gently insert the catheter through the opening of the stoma and follow the path of the channel until urine flows from the bladder.
- If there is some resistance to the entrance of the bladder, gently continue but do not use force to enter the catheter.
If the resistance persists:
- remove the catheter;
- immediately contact your healthcare team.
Why ? This step is necessary to safely enter the bladder without irritation or injury.
|
|
Step 8: Empty the bladder
|
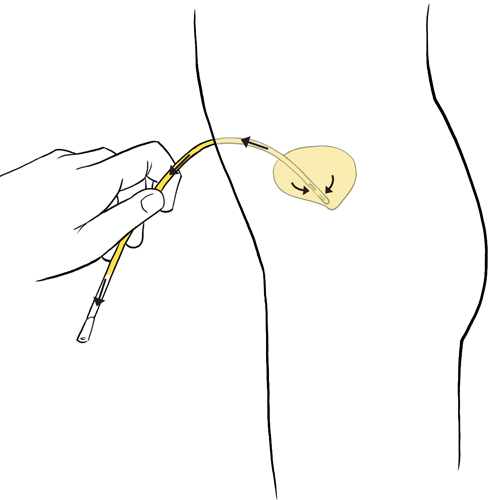
- Hold the catheter in place and allow urine to flow into the towel, the toilet or container.
- Pass the catheter around the base of the bladder by rolling it around between your fingers.
- If necessary, press gently on the belly of your child to completely empty the bladder.
Why ? This step is necessary to make ensure the bladder is emptied.
|
|
Step 9: Remove the catheter
|
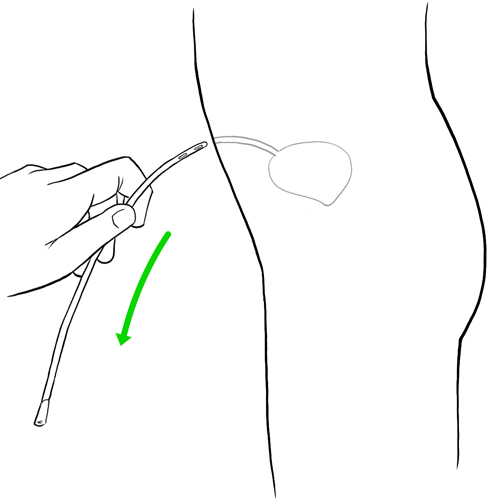
- Slowly withdraw the catheter when the urine stops flowing.
- While removing the catheter, stop each time that urine begins to flow again.
- Remove the catheter then quickly place it on a clean surface.
Why ? This step is necessary to make ensure the bladder is emptied.
|
|
Step 10: Clean and store the catheter

|
- Follow the manufacturer’s and your healthcare team’s recommendations about maintenance and the frequency of re-using catheters at home.
- If the catheter can be reused, it must be cleaned after each use:
- inject soapy water (eg, hand soap or dishwashing liquid) with a syringe into the catheter,
- rinse with water until there is a clear return,
- wipe the outside of the catheter with a clean towel,
- dry the inside by injecting air using the syringe,
- place the clean catheter in the clean and dry container,
- wash the catheter storage container at least once a week.
Why ? This step is necessary to prevent infections.
|
|
Step 11: Measure and record the amount of urine collected, if necessary
|
According to the recommendations of your healthcare team:
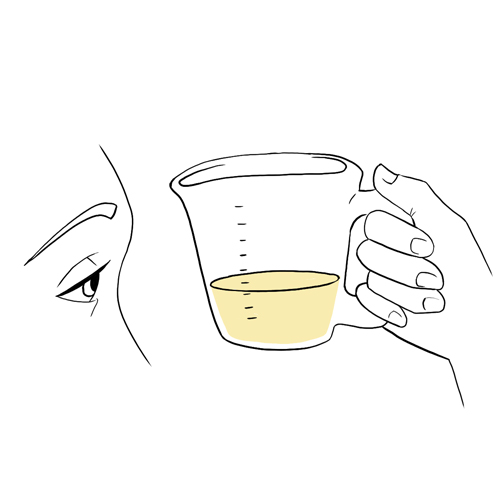
- pour the urine in the container provided for its measurement,
- note the amount,
- observe the color and appearance,
- write the information on the tracking sheet.
Why ? This step is necessary to monitor the functioning of the kidneys and bladder.
|
|
Step 12: Recovery
|
See the full description here
Summary:
The treatment is finished. Wash your hands again.
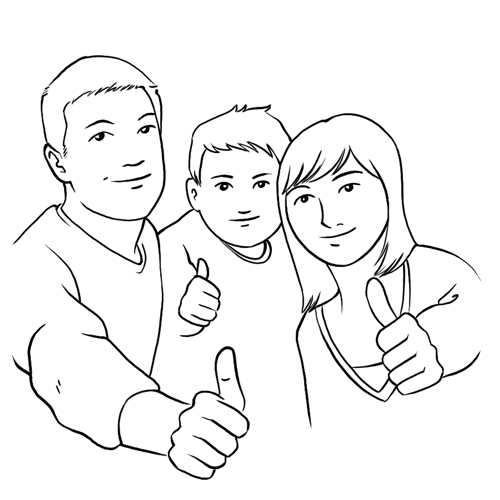
Be prepared to recognize the challenges faced and to provide positive feedback. Help your child recognize his/her strengths. Acknowledge the collaborative teamwork.
- Listen to what your child says about the parts of the procedure that were difficult or painful.
- Comfort your child and recognize your child’s collaboration with positive feedback.
- Highlight your child’s specific strengths that helped make the procedure positive.
- Discuss with your child what might be done the same or differently the next time the care is needed.
- Keep your promises if you have promised a reward, follow through.
- Reward yourself too.
|
|
![]()