
WARNING: The information in this section is meant as a general guide to help parents and caregivers with common issues and is not intended to replace the care provided by your child’s healthcare team.
Discuss your child’s unique needs with your healthcare team, including WHO and WHEN to contact when problems arise.
Fever with or without general malaise: (≥ 38⁰C rectal or ≥ 37.5⁰C oral/armpit)
Possible cause(s)
- Urinary infection
- Other infection
What to do?
- Record your child other symptoms: pain, irritability, loss of appetite, fatigue, etc.
- Contact your healthcare team quickly.
General irritability, poor appetite, fatigue or wanting to sleep more than usual (lethargy)
Possible cause(s)
Change in baseline health of the child may indicate new infection or other problem
What to do?
- Note any other changes or symptoms that your child may have.
- Contact your healthcare team quickly.
One or more of these symptoms: decreased urination - increased thirst - dry lips and mouth - faster heart rate than usual - weight loss
Possible cause(s)
Dehydration
What to do?
- Contact your healthcare team quickly.
- Give oral rehydration solutions to your child (eg, Pedialyte™, Gastrolyte™), if recommended by your healthcare team.
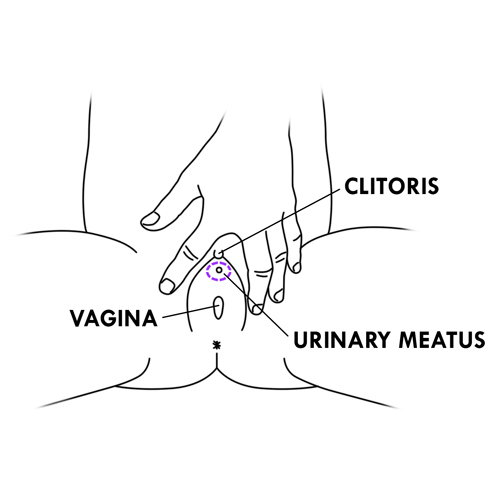
Abdominal discomfort, pain and/or burning at the meatus or urethra
Possible cause(s)
- Urinary infection
- Irritation
What to do?
Contact your healthcare team quickly.
Urine has an unusual odor or is milky, not clear
Possible cause(s)
- Urinary tract infection
- Insufficient hydration
- Bladder not completely emptied
What to do?
- Make sure the bladder completely empties during catheterization.
- If the problem is new, repeat the catheterization.
- Check if your child has other symptoms:
- change in the color of urine,
- need to empty the bladder more often,
- pain in the urethra or abdomen,
- nausea, vomiting,
- fever: rectal ≥ 38⁰C, oral or armpit ≥ 37.5⁰C,
- chills,
- irritability,
- tiredness, lack of energy.
- If the problem persists after catheterization or if your child has other symptoms, quickly contact your healthcare team.
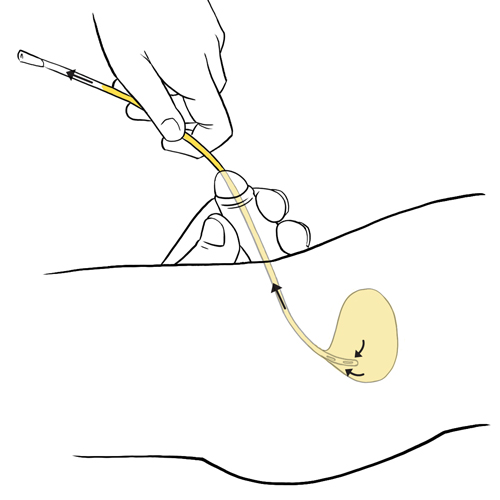
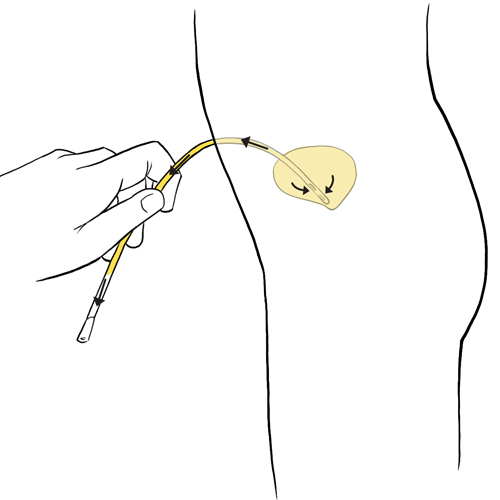
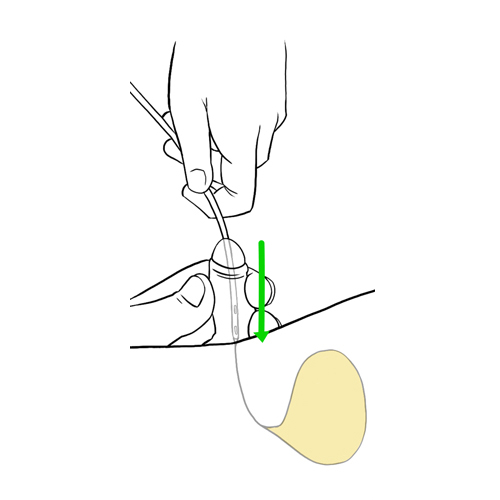
The urine does not flow or flows more slowly than usual through the catheter
Possible cause(s)
- Too frequent catheterization: therefore little urine in the bladder
- Insufficient hydration
- Inadequate functioning of kidneys
- Mechanical blockage of the catheter (eg, kinked)
- Catheter too small
- Blockage of the Mitrofanoff stoma (eg, presence of mucus)
- Poor technique
What to do?
- Identify the time of the last catheterization.
- Check how well your child is hydrated:
- review the amount of liquid drunk by your child in the last 2 days;
- look for the symptoms of dehydration: dry mouth and lips, sunken eyes, headache, weakness, dizziness.
- Make sure the catheter is not stuck, bent or kinked.
- Use a larger catheter after discussing it with your healthcare team.
- Review the steps of catheterization and make sure to follow them well.
- Contact your healthcare team quickly if the problem lasts for a longer period than what is agreed with your healthcare team.
- Mitrofanoff: if your child has had surgery to enlarge the bladder, deposits can form and build up thus making the emptying difficult. To avoid this problem, the bladder must be irrigated regularly. Talk to your healthcare team.
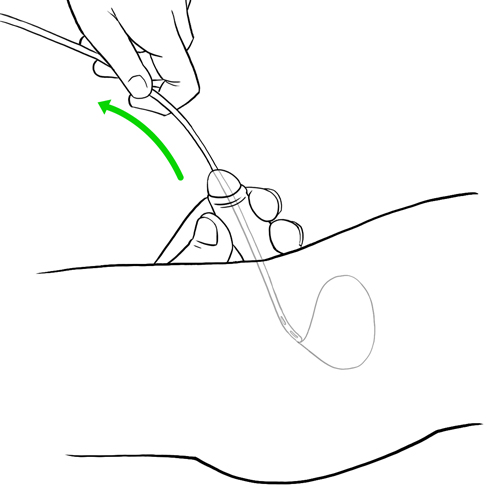
Urinary incontinence (leakage) between catheterizations
Possible cause(s)
- Urinary tract infection
- Catheterization not frequent enough
- Malfunctioning Mitrofanoff valve
What to do?
- Identify the time of the last catheterization.
- Contact your healthcare team quickly.
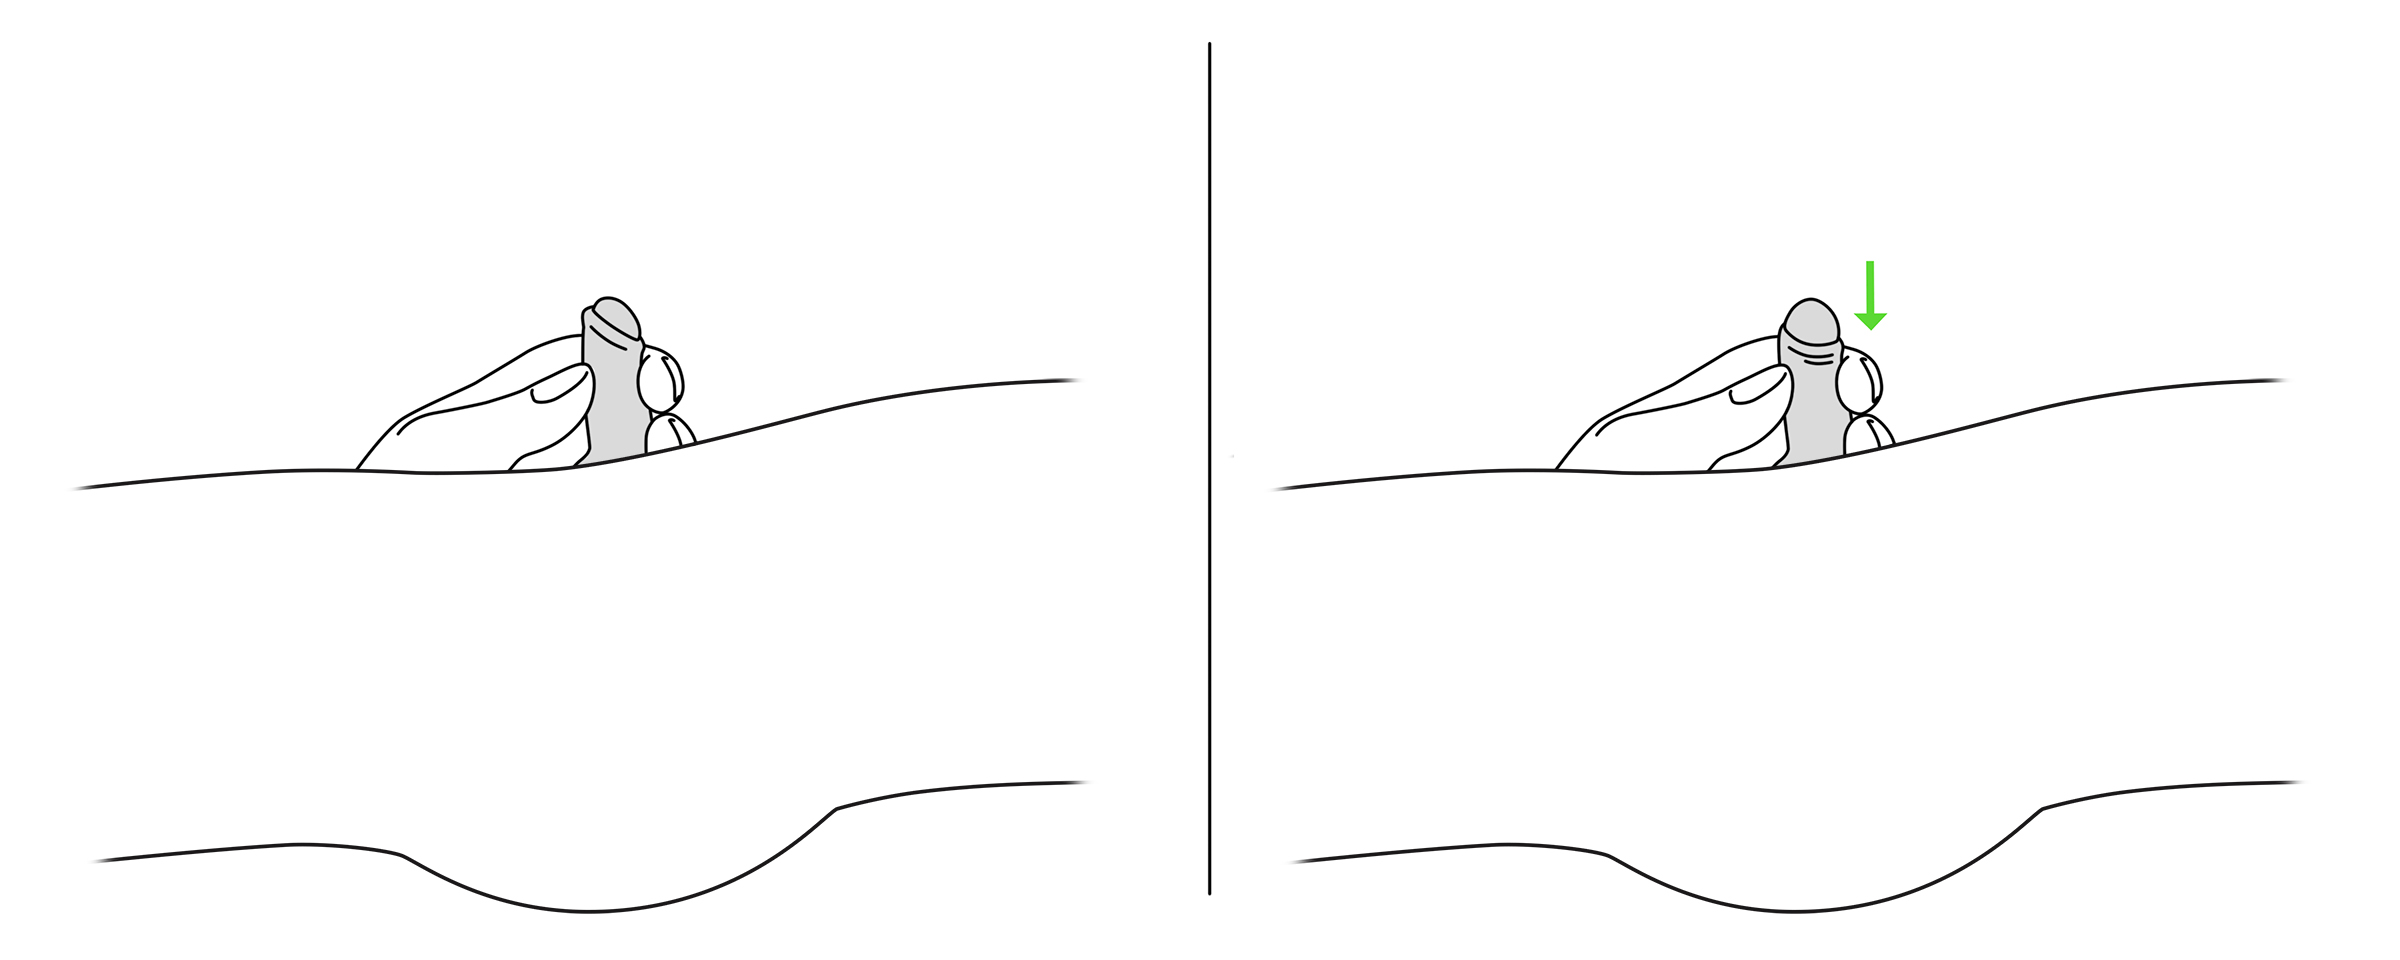
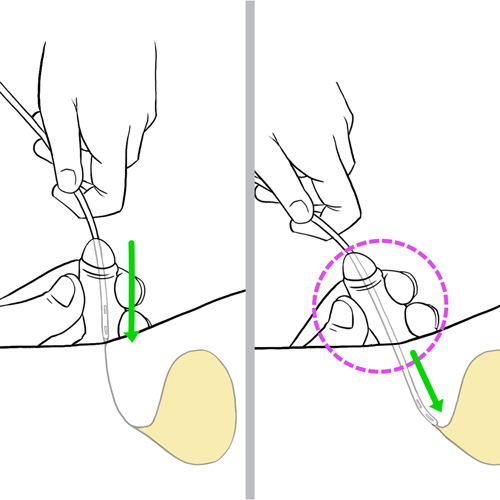
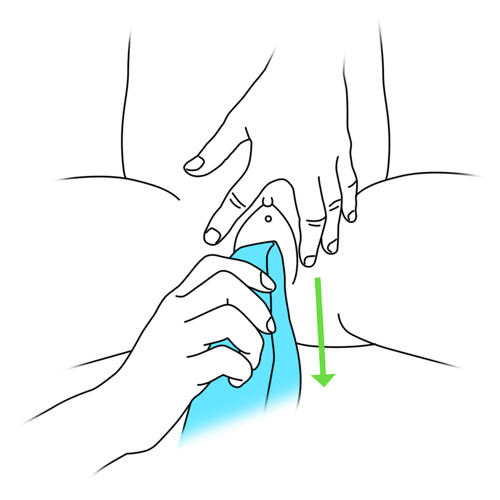
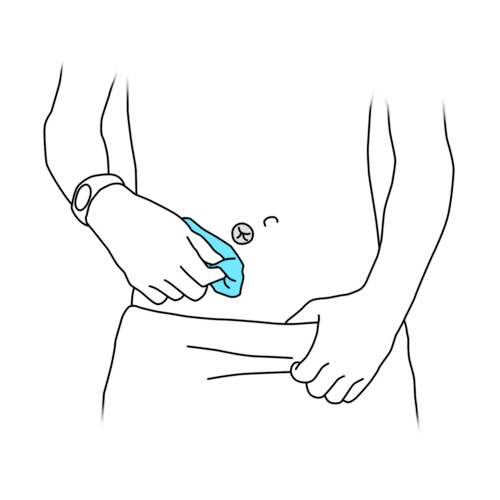
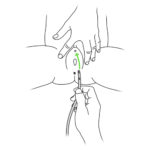
The catheter is difficult to insert
Possible cause(s)
- Resistance at the level of the sphincters
- Mechanical blockage of the catheter (eg, kinked)
- Mitrofanoff: injury at the level of the tunnel
What to do?
Natural ways: You may feel a slight resistance at the level of the urethral sphincter when trying to insert the catheter:
- encourage your child to relax and breathe slowly;
- roll the catheter itself with your fingers and push gently, but not forcefully;
- ask your child to change position (eg, roll to the side).
If the resistance persists:
- try a smaller catheter;
- if this is not effective, remove the catheter to avoid hurting your child;
- contact your healthcare team immediately.
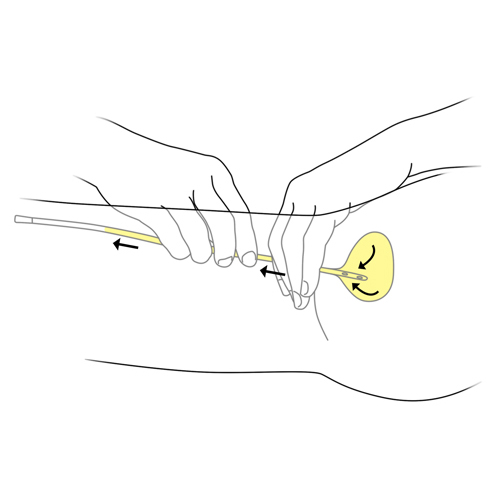
Mitrofanoff:
- follow the path of the canal between the stoma and the bladder with the catheter;
- if there is some resistance at the entrance of the bladder proceed gently;
- do not force the catheter in.
If the resistance persists:
- remove the catheter;
- contact your healthcare team immediately.
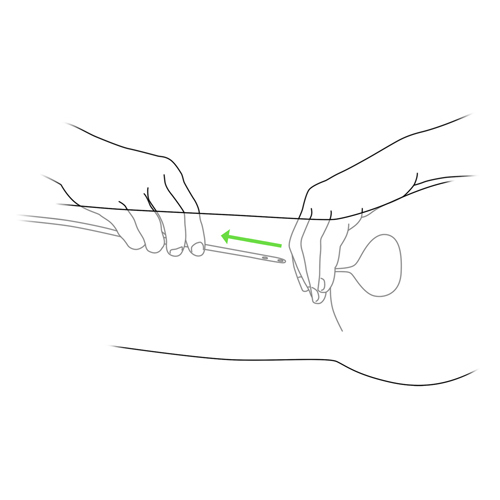
The catheter is difficult to remove
Possible cause(s)
In rare cases, the catheter may have rolled up on itself
What to do?
- Do not forcibly remove the catheter. Leave it in place.
- Contact your healthcare team quickly.
Bleeding after catheterization
Possible cause(s)
- Irritation caused by frequent catheterizations
- Urinary tract infection
What to do?
- One or two small blood drops may be seen during catheterization: it is not worrying if it happens infrequently. Nevertheless, discuss it with your healthcare team.
- If there is more bleeding or if it is more frequent:
- check if your child has a fever (rectal ≥ 38⁰C or oral/armpit ≥ 37.5⁰C),
- contact your healthcare team quickly.
Skin around the Mitrofanoff stoma: red swollen itchy, burns, small bumps, abrasions or bleeding
Possible cause(s)
- Skin irritation around the stoma
- Infection of the skin around the stoma
What to do?
- The skin around the stoma your child should have the same appearance as that of the rest of the belly.
- Contact your healthcare team quickly.
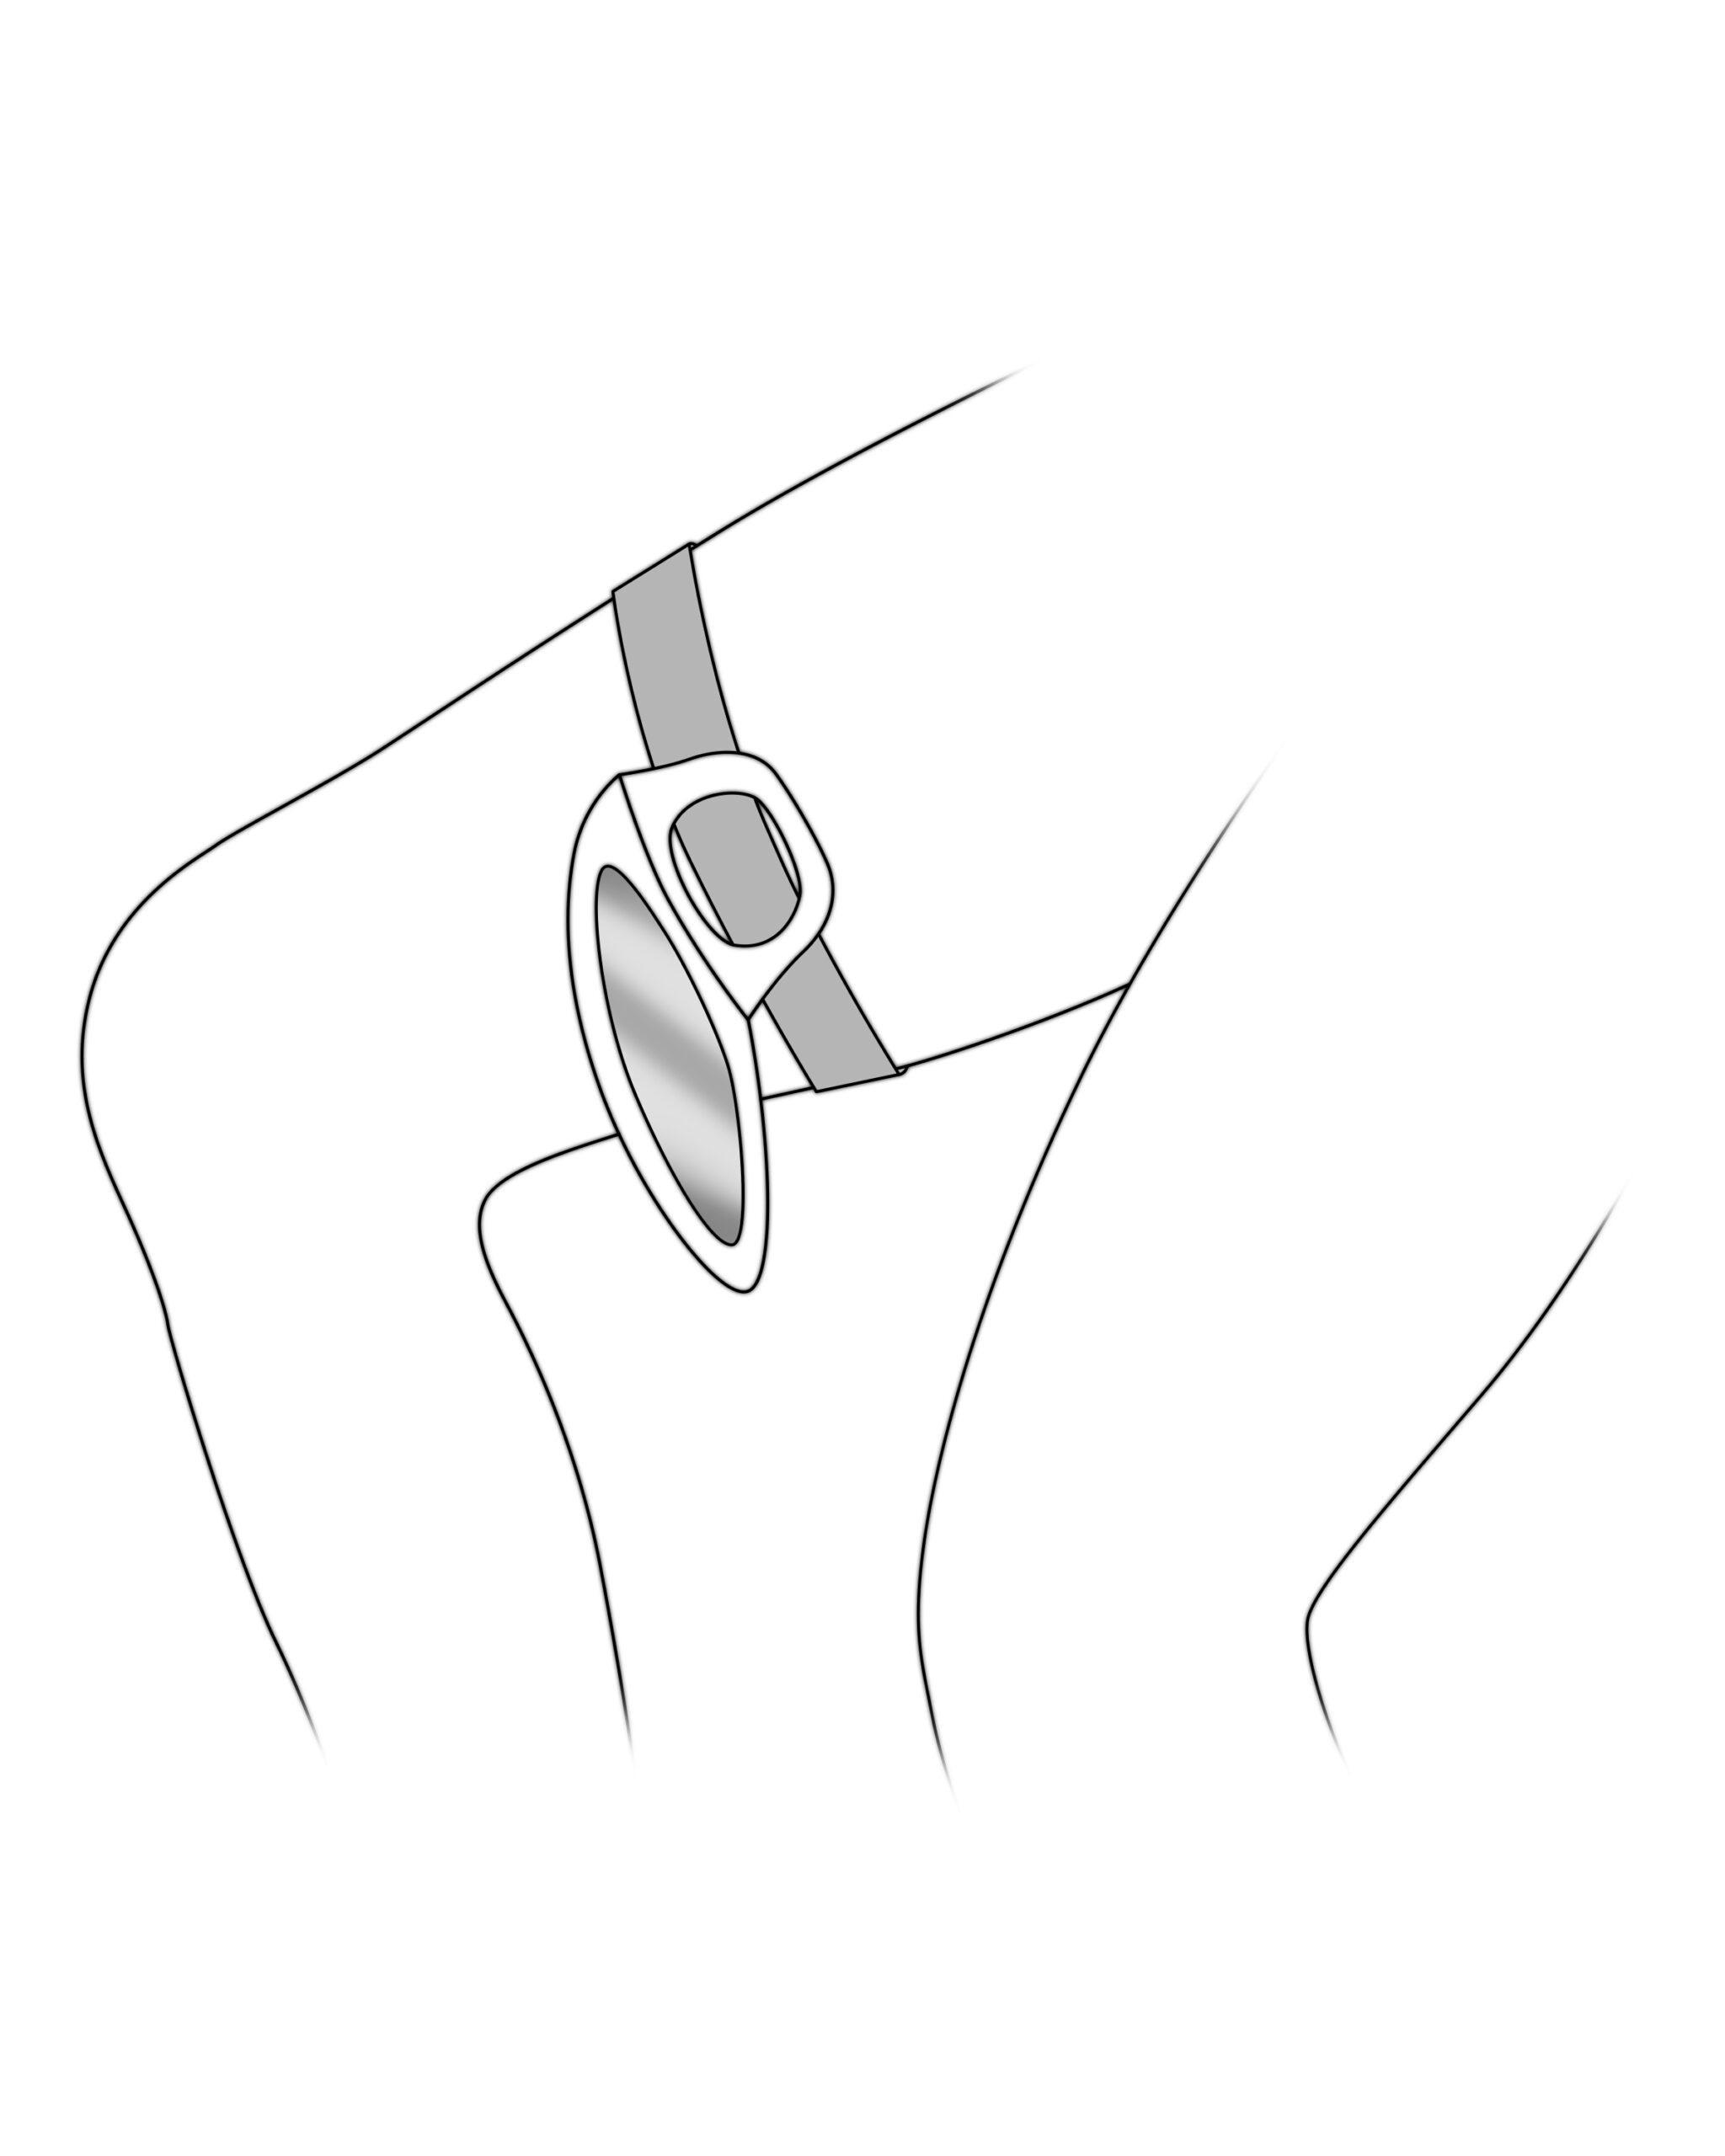
Movement of the Mitrofanoff stoma is more than 0.5 cm from its usual position, whether sinking in or protruding out
Possible cause(s)
Various causes
What to do?
Contact your healthcare team immediately.
Do not hesitate to refer to your child’s healthcare team for any questions or for specific advice related to your child’s condition.