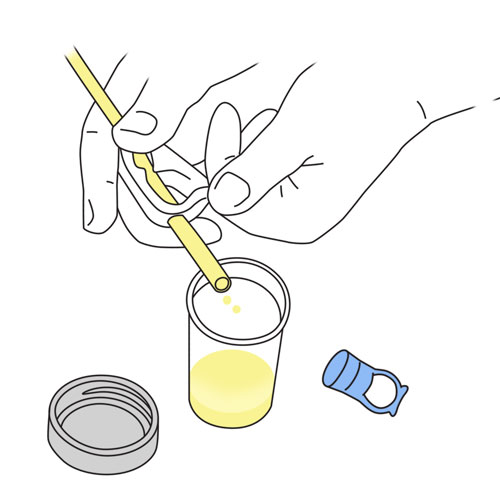
Step 1: Anticipation

|
You and your child are a team. Encourage autonomy by making realistic choices about what they can do to help you.
|
|
Step 2: Preparation
|
- Prepare the environment: Identify a place to perform the treatment.
- Prepare your child:
- Get help if needed.
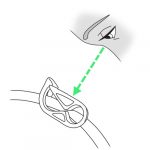
- Position your child to safely assess the catheter insertion site in one of the positions discussed with your healthcare team, based on your child’s comfort, age and ability to cooperate.
- Begin distraction strategies. Prepare yourself: Choose a time when you are ready to do the treatment. Review the method.
- Perform basic procedures, as taught by your healthcare team:
- Wash your hands with soapy water for at least 20 seconds.
- Dry your hands well with a clean paper or towel.
- Close the tap with the paper or towel.
- Close doors and windows or ventilation system.
- Wash your work surface (eg, table) with alcohol or a disinfectant wipe (eg, Sani-Cloth® Plus).
- Let the table dry.
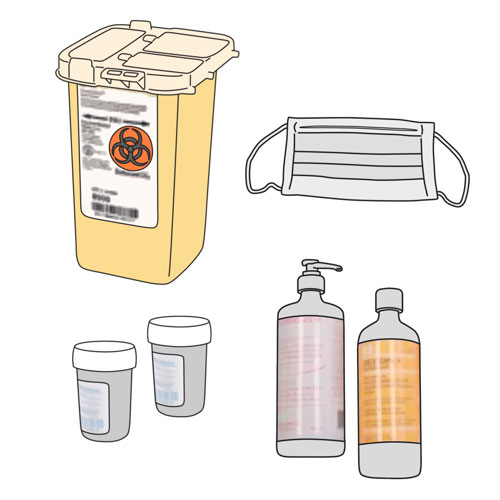
- Gather and inspect the materials.
- Put on a mask.
- Remove jewelry.
- Wash your hands with a 4% chlorhexidine ssoap solution for 2 minutes.
- Dry your hands well with a clean paper or towel.
- Close the tap with the paper or towel.
- Now touch only the dialysis equipment.
- Now that you are ready to begin the treatment, take the opportunity to congratulate your child and offer encouragement during the rest of the procedure.
|
|
Step 3: Procedure

|
See the full description here
Summary 3 key concepts:
- Safety: Carefully follow the care practice steps as you have been taught.
- Flexibility: Be ready to adjust according to your child’s reactions during the procedure. As needed, reposition or select an alternative distraction strategy. Follow your child’s pace and rhythm.
- Collaboration: Reassure your child, verbally and non-verbally. Acknowledge your child’s emotions and reactions. Help your child differentiate between the different sensations during a procedure.
|
|
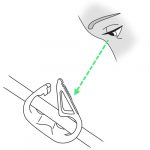
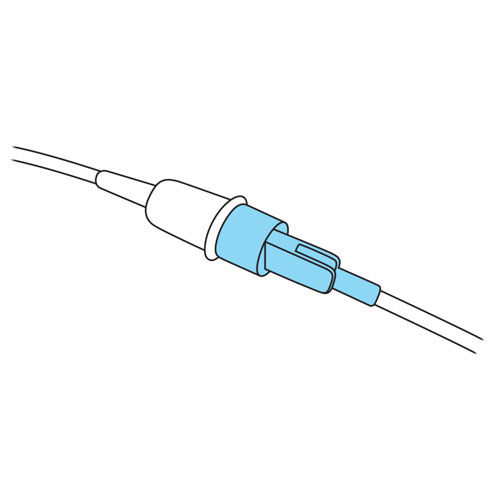
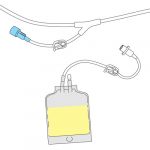
Step 4: Check the connection of the specimen bag
|
- Make sure that the tubing of the specimen bag is connected to the specimen line.
- If the specimen bag is not already installed:
- Open the specimen bag packaging.
- Disinfect your hands with an antiseptic gel and rub until your hands are dry. Now touch only the dialysis equipment.

-
- If the cycler has been assembled for more than one hour, disinfect the outside of the specimen line protective cap with a disinfectant pad.
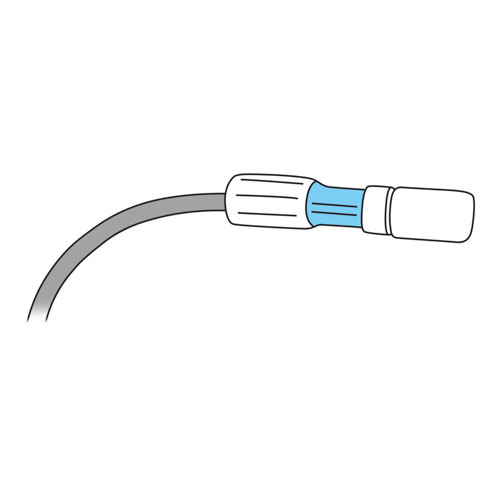
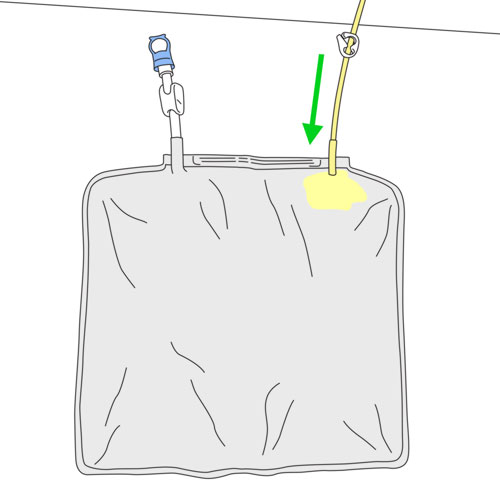
- Remove the cap from the specimen line and specimen bag tubing.
- Connect the specimen line to the specimen bag tubing.
- Install the specimen bag on the hook on the side of the cart.
- Check that the tubing clamp is securely closed.
Why ? The specimen bag is used to collect the effluent required for analysis.
|
|
Step 5: Let some effluent drain into the drainage bag
|
- On the last drainage, let some effluent drain into the drainage bag:
- 20 ml if your child has a pediatric set,
- 40 ml if your child has an adult set.
- Press the STOP button on the front of the cycler.
- The message “Stopped: Drain” appears on the screen.
- Close the clamp on the open drainage bag tubing.
Why ? This step avoids collecting dialysate that remains in the patient line rather than effluent from the abdomen.
Collection of specimen for “routine” cell count and culture is always done at the beginning of the last drainage of the peritoneal dialysis treatment, unless there is an emergency or your healthcare team indicates otherwise.
|
|
Step 6: Fill the specimen bag
|
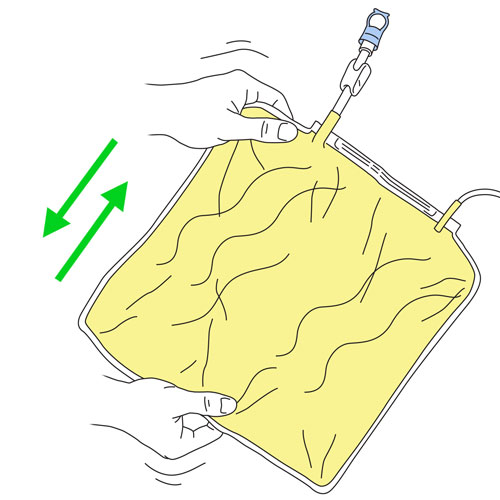
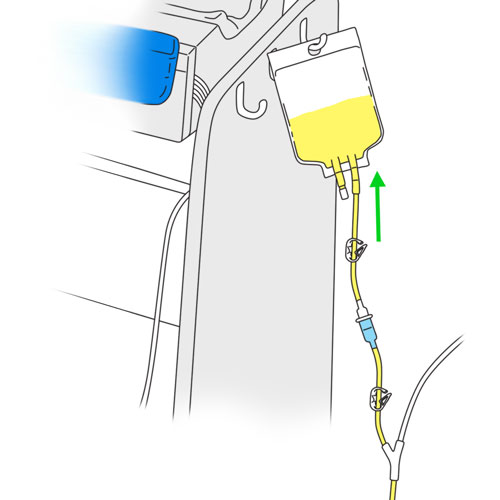
- Open the clamp on the specimen bag tubing and the clamp on the specimen line.
- Press the GO button on the front of the cycler.
- The message “Drain x from y” appears on the screen.
- Allow effluent to flow into the specimen bag until it is full (approximately 100 ml).
- Press the STOP button again.
- The message “Stopped: Drain” appears on the screen.
- Close the clamp on the specimen bag tubing and the clamp on the specimen line.
Why ? This step allows the effluent to collect in the specimen bag.
|
|
Step 7: Complete the drainage

|
- Open the tubing clamp on the drainage bag.
- Press the GO button on the front of the cycler again.
- The message “Drain x of y” appears on the screen.
- Make sure that the drainage continues.
Why ? This step completes rest of the drainage.
|
|
Step 8: Continue treatment, if indicated
|
- If the specimen was collected “routinely”: complete the dialysis treatment.
- If the specimen was collected on an emergency basis: follow the instructions of your healthcare team (to continue or not to continue the treatment).
Why ? This step completes the dialysis treatment if the specimen is collected “routinely”.
If the collection is done in an emergency situation, your healthcare team will give the appropriate instructions, depending on your child’s condition (whether to continue treatment or not).
|
|
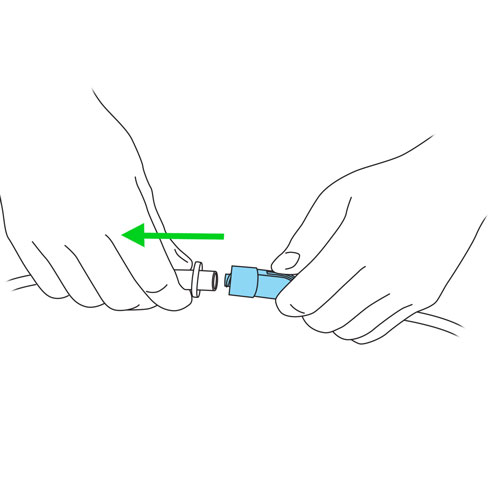
Step 9: Disconnect the specimen bag
|
Why ? This step allows easy access to the collected specimen of effluent.
|
|
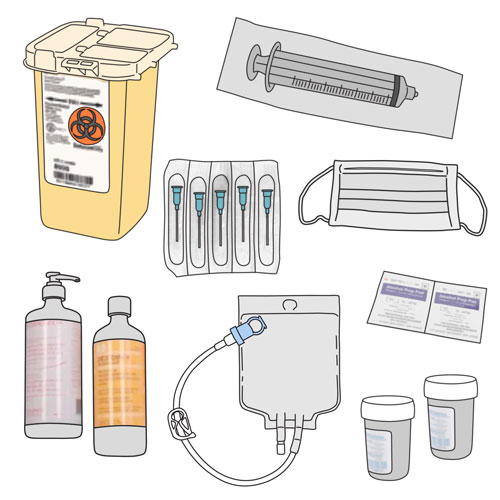
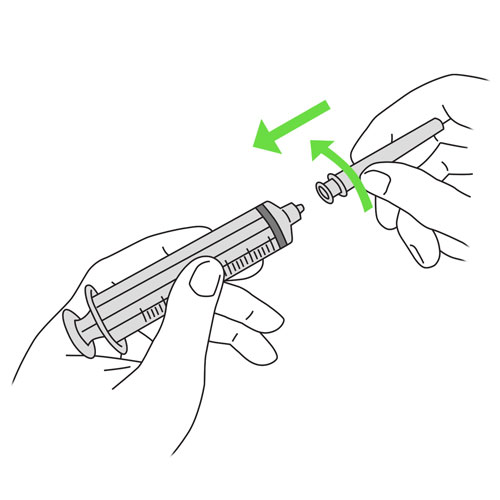
Step 10: Prepare the syringe
|
- Without touching the tip of the syringe, screw the needle into it by turning clockwise, about ¼ turn.
- Leave the protective cap in place on the needle.
Why ? This step prepares the needle and syringe safely for the next step.
|
|
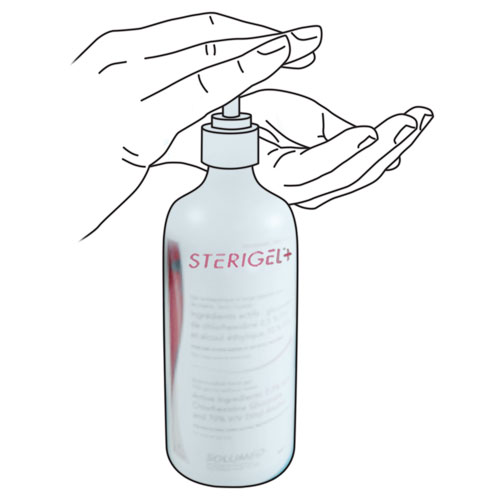
Step 11: Disinfect your hands
|
- Disinfect your hands with an antiseptic gel.
- Apply a generous amount to cover the entire surface of your hands.
- Rub until your hands are dry (20-30 seconds).
- Now touch only the dialysis equipment.
Why ? This hand disinfection prevents contamination for the rest of the procedure.
|
|
Step 12: Disinfect the specimen bag port
|
- Disinfect your hands with an antiseptic gel and rub until your hands are dry. Now touch only the dialysis equipment.
- Scrub the specimen port vigorously with a disinfectant pad for 15 seconds.
- Allow to dry completely.
- Make sure nothing touches the specimen port to avoid contamination.
Why ? Disinfection is necessary to prevent bacteria or particles on the specimen port from entering the bag when the needle is inserted.
|
|
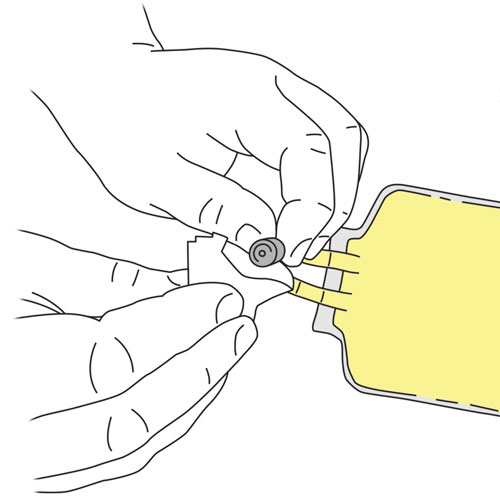
Step 13: Collect the specimen in a syringe

|
- Remove the protective cap from the syringe needle.
- Insert the entire needle into the center of the injection port of the bag.
Be careful of the angle of the needle so as not to puncture the bag.
- Pull back the plunger and withdraw the required amount of effluent (60 ml).
Why ? This step allows safe collection of the effluent specimen.
|
|
Step 14: Transfer the specimen to the containers
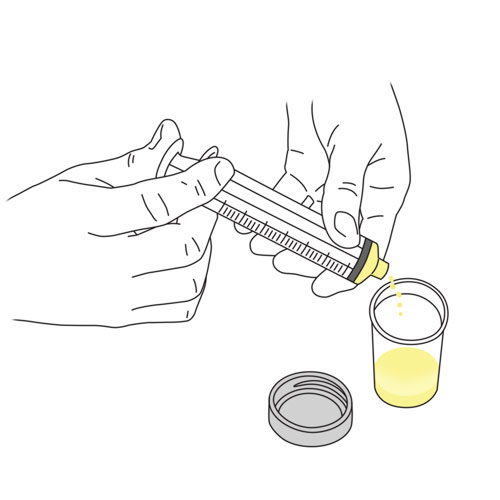
|
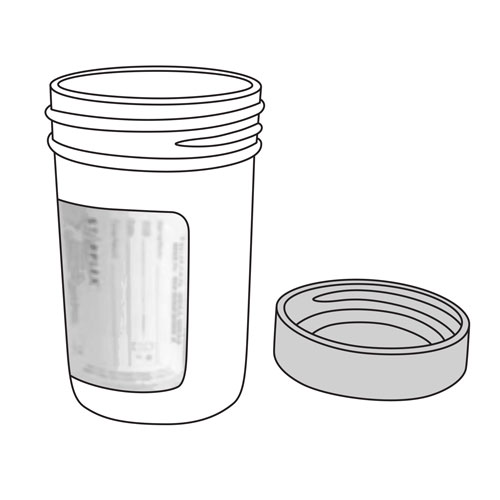
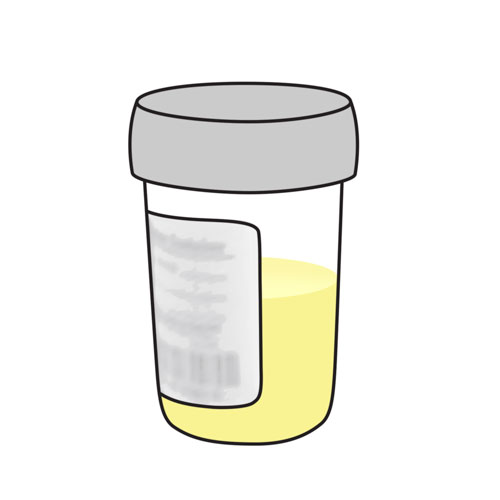
- Remove the lids from the containers and place them upright on a clean surface.

- Transfer the effluent to the containers, avoiding touching the rims, in the amount recommended by your healthcare team (10 ml for a cell count and 50 ml for a culture).
Why ? Transferring the specimen to a sterile container prevents contamination before analysis.
|
|
Step 15: Close the containers
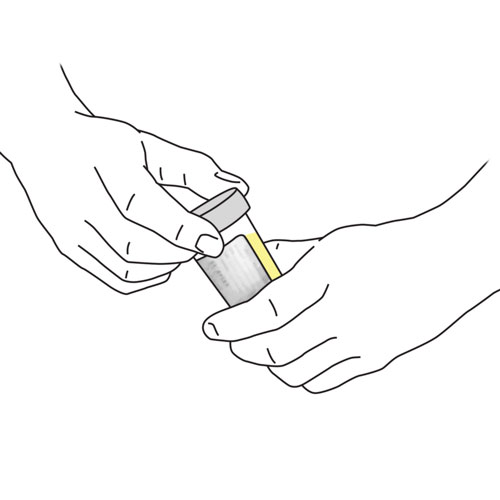
|
- Put the lids back on the containers.
- Make sure the lids are tightly screwed on.
Why ? This step ensures that the containers are sealed and secure.
|
|
Step 16: Dispose of the material
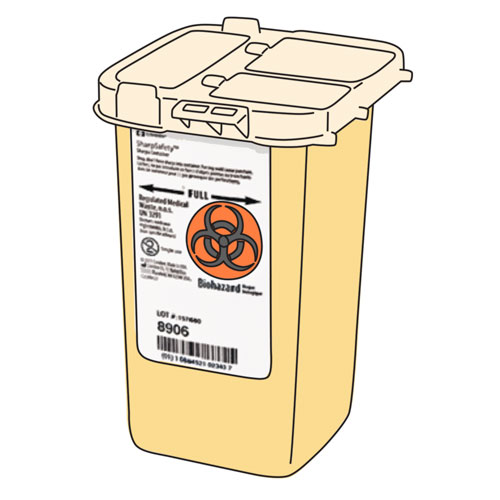
|
- Dispose of the remaining effluent in the toilet.
- Dispose of the syringe with its needle in the sharps container.
Why ? Effluent is a waste product that must be disposed of in a sanitary manner.
Needles must be disposed of safely.
|
|
Step 17: Identify the container
|
- Label the 10 ml container that the specimen collected is for cell counting. The container can be stored at room temperature.
- Label the 50 ml container that the specimen collected is for culture. The container should be kept cold (in the refrigerator or on an ice pack) if transport to the laboratory is not immediate.
Why ? This step ensures that the correct volumes are saved for each type of analysis.
|
|
Step 18: Recovery

|
See the full description here
Summary:
The treatment is finished. Wash your hands again.
Be prepared to recognize the challenges faced and to provide positive feedback. Help your child recognize his/her strengths. Acknowledge the collaborative teamwork.
- Listen to what your child says about the parts of the procedure that were difficult or painful.
- Comfort your child and recognize your child’s collaboration with positive feedback.
- Highlight your child’s specific strengths that helped make the procedure positive.
- Discuss with your child what might be done the same or differently the next time the care is needed.
- Keep your promises if you have promised a reward, follow through.
- Reward yourself too.
|
|