
PLEASE NOTE: The information in this section is meant as a general guide to help parents and caregivers with common issues and is not intended to replace the care provided by your child’s healthcare team.
Discuss your child’s unique needs with the healthcare team, including WHO and WHEN to contact when problems arise.
Fever with or without general malaise: (≥ 38⁰C rectal or ≥ 37.5⁰C oral/armpit)
Possible cause(s)
- Respiratory infection
- Other infection
What to do?
- Contact your healthcare team quickly.
General irritability, poor appetite, fatigue or wanting to sleep more than usual (lethargy)
Possible cause(s)
- Change in baseline health of the child may indicate new infection or other problem
What to do?
- Note any other changes or symptoms that your child may have.
- Contact your healthcare team quickly.
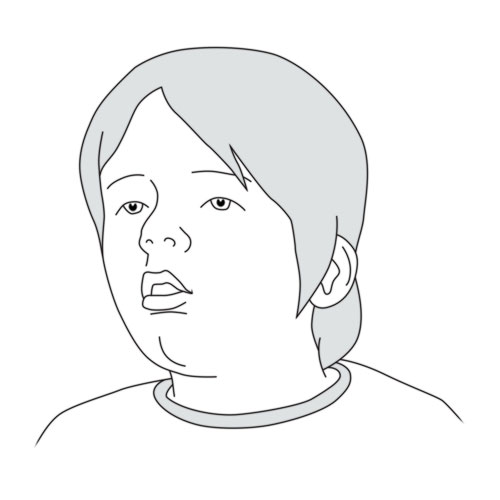
One or more of these symptoms of breathing difficulties: shortness of breath, trouble breathing or noisy breathing; breathing more quickly; chest pain; coughing more than usual or has a weaker cough; faster heart rate than usual; chest retractions and/or nasal flaring; decreased oxygen saturation compared to their normal values; purple or gray lips, tongue or fingertips (cyanosis); clammy skin\cold extremities; changes to behavior either fatigue or irritability; more comfortable breathing when sitting up; extends their neck and head backwards to take in a breath
Possible cause(s)
- Equipment malfunction
- Respiratory tract infection (eg, tracheitis, pneumonia
- Mucous plug
- Other health problems
What to do?
- If your child is in SEVERE respiratory distress:
- Call 911 immediately.
- If required, begin manual ventilation and CPR as instructed.
- If your child is in MILD respiratory distress:
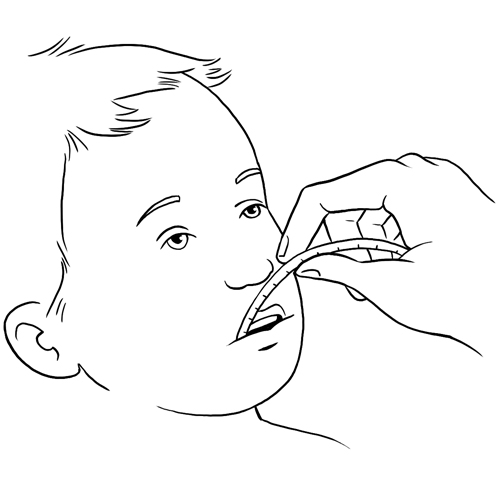
- Try suctioning the secretions.
- If your child has medications that have been previously prescribed for these symptoms (eg, Ventolin), administer them as prescribed or according to your child’s healthcare team.
- Contact your child’s healthcare team immediately.
One or more of these symptoms: decreased urination, increased thirst, dry lips and mouth, faster heart rate than usual, weight loss
Possible cause(s)
- Dehydration
What to do?
- Contact your healthcare team quickly.
- Give oral rehydration solutions to your child (eg Pedialyte™, Gastrolyte™), if recommended by your healthcare team.
Dizziness or fatigue
Possible cause(s)
- Less than 10 minutes between each session
- Session is too long
What to do?
- Let your child rest.
- Wait 10 minutes between each session.
If the dizziness is severe:
- Stop the technique immediately.
- If the symptoms reappear again, contact the healthcare team.
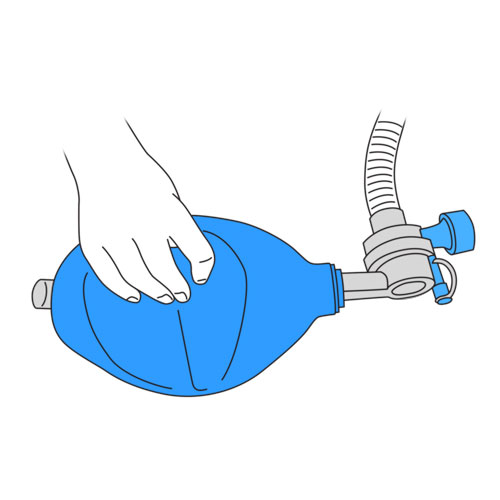
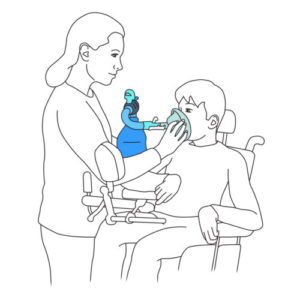
Bloating of the abdomen with burping after lung volume recruitment technique or insufflation/exsufflation technique
Possible cause(s)
- Air is entering the stomach instead of the lungs
What to do?
- Remind your child to relax during the insufflations of air; he must not resist air entry.
If the discomfort persists:
- Stop the technique immediately.
- Quickly contact the healthcare team.
Stomach upset during lung volume recruitment technique or insufflation/exsufflation technique
Possible cause(s)
- The technique was applied during or immediately following a meal
What to do?
- Stop the technique immediately unless your child is really congested with secretions.
- Avoid applying the technique within 2 hours before or after a meal.
- If needed, suction the secretions.
Chest/abdominal discomfort or pain during lung volume recruitment (breath stacking) or insufflation/exsufflation technique
Possible cause(s)
- Sore chest or abdominal muscles
- Too much air in the lungs
What to do?
- It is normal that your child feels a slight pulling of the chest muscles when the therapy is first started. This discomfort will gradually disappear.
If he feels pain:
- Stop the technique immediately.
- Contact the healthcare team as soon as possible.
Inability to expectorate (clear) the secretions
Possible cause(s)
- Poor technique
- Thicker secretions
- More secretions than usual
What to do?
- Review the technique.
- Combine more than one technique at a time (eg, pulmonary hyperinflation with abdominal thrusts) in order to increase the efficacy of secretion clearance.
- Make sure that the humidity level is adequate.
- If the problem persists, contact the healthcare team quickly.
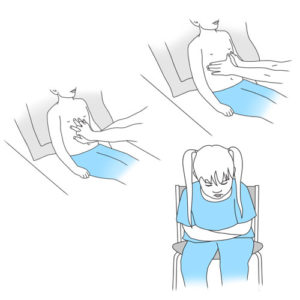
Abdomen does not move outwardly during lung volume recruitment technique or insufflation/exsufflation technique
Possible cause(s)
- Poor technique
- Lack of collaboration by your child
What to do?
- Review the technique.
- Make sure that there is no leak (mouthpiece, facial mask, tubing).
- Make sure that your child is relaxed.
- If the problem persists, contact the healthcare team.
Abdomen does not move outwardly during lung volume recruitment technique or insufflation/exsufflation technique
Possible cause(s)
- Poor seal around the mouthpiece
What to do?
- Make sure that your child closes his mouth firmly around the mouthpiece.
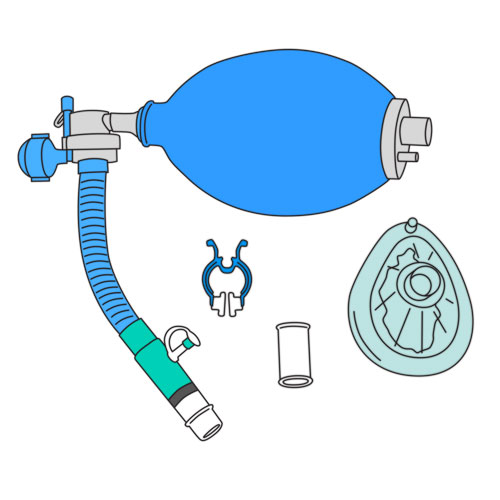
- Make sure that the mouthpiece is properly inserted in the modified ventilatory bag.
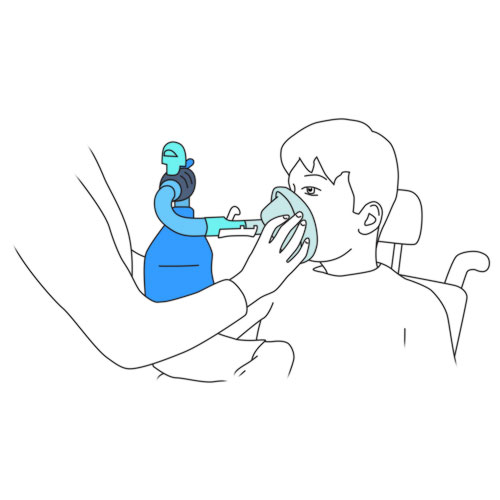
- If needed, use a facial mask.
- If the problem persists, contact the healthcare team.
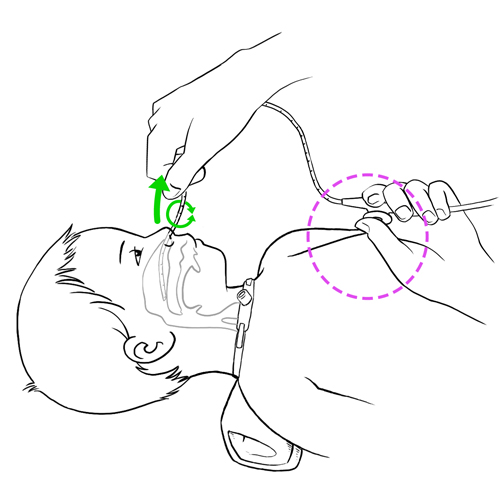
Leak from the nose during lung volume recruitment technique or insufflation/exsufflation technique
Possible cause(s)
- The air is leaking through the nose rather than going to the lungs
What to do?
- Use a nose clip.
- If the problem persists, use a facial mask.
- If the problem continues to persist, contact the healthcare team.
Do not hesitate to refer to your child’s healthcare team for any questions or for specific advice related to your child’s condition.